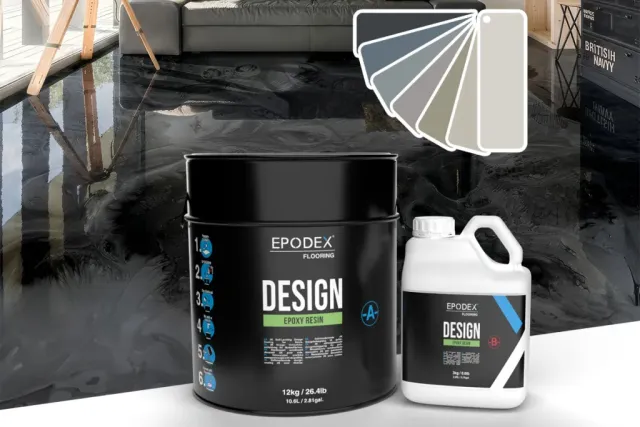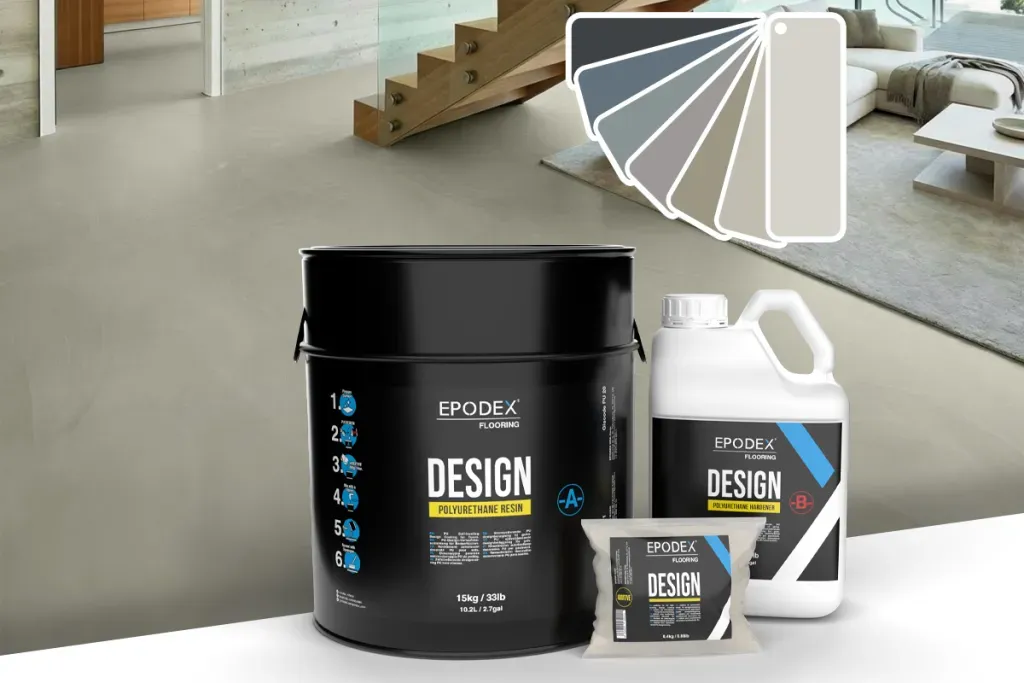


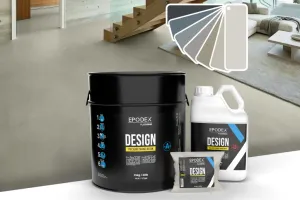


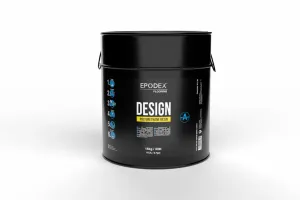
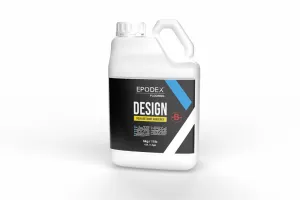
2K PU Design - Container
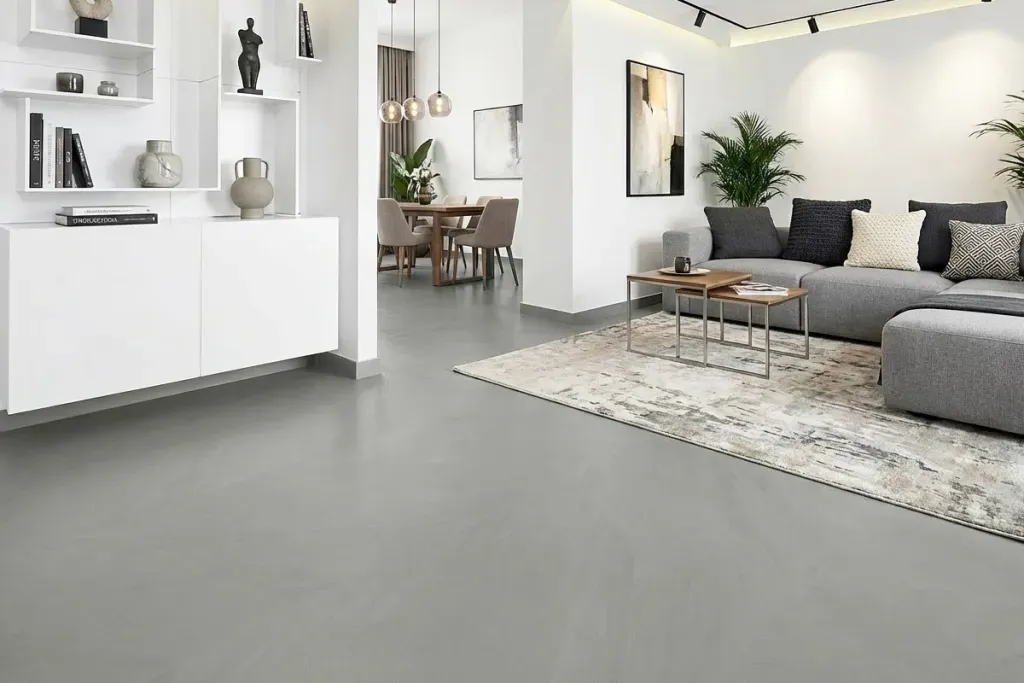
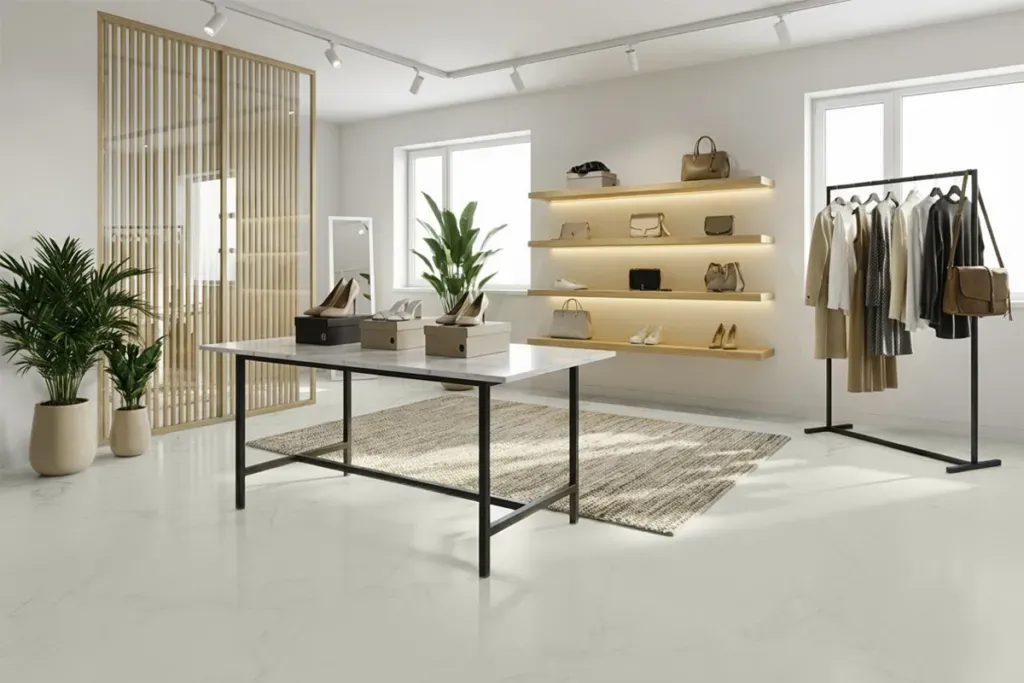
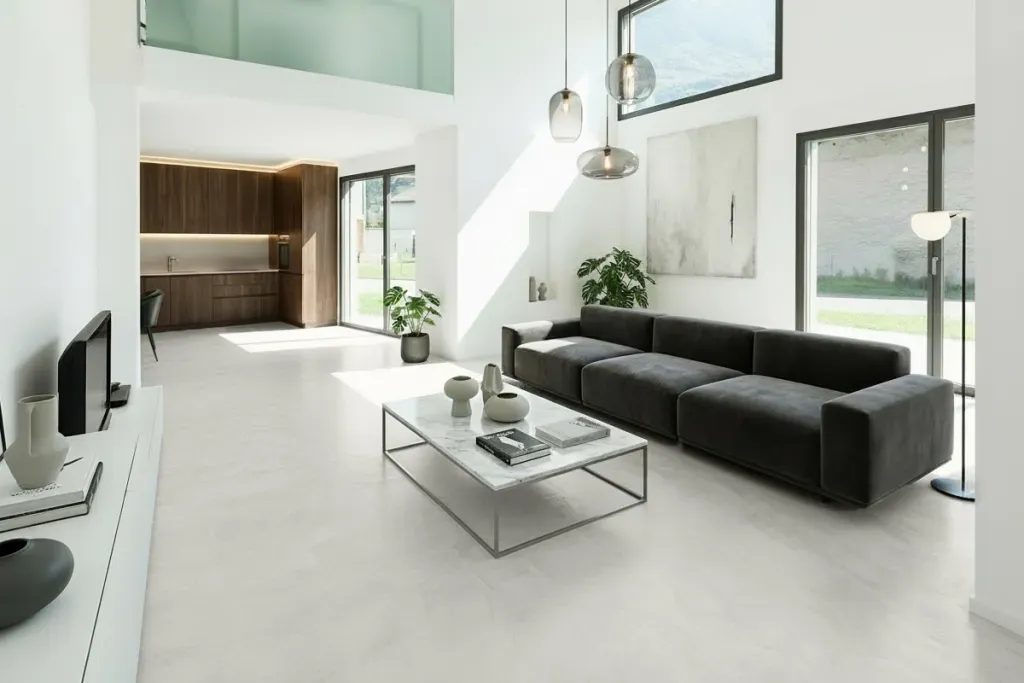
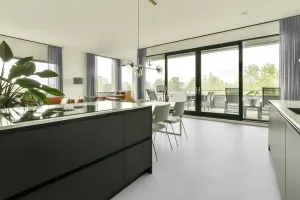
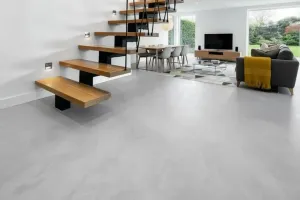
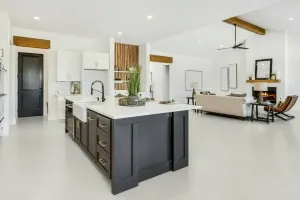
- Suitable for almost all rigid substrates and applications such as living areas, architectural offices, showrooms and exhibition spaces
- Application as a self-levelling coating
- Results in an even, seamless, mirror-smooth, satin surface
- Consumption: primer with EP Primer approx. 330 g/m², coating with PU Design approx. 2000 g/m² and optional sealing with PU Finish approx. 150 g/m² per coat
- Walkable / further coating after approx. 16 h, fully loadable after approx. 4 days (at +20 °C)
| 20,4kg A+B+Additive | |
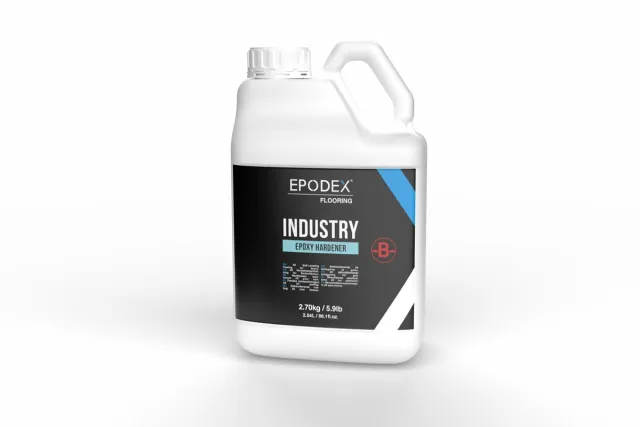
| 2K PU Design (-A- Component) | 1 x 15kg Container |
| 2K PU Design (-B- Component) | 1 x 5kg Container |
| PU Design Additive | 1 x 0,4kg Container |
| EP Color Pastes | 2 x 100g Container |
| Image | ProductAction |
|---|---|
 |  Login to view prices |
 |  Login to view prices |
 |  Login to view prices |
Application Instructions
Prepare substrate:
The substrate must be levelled, load-bearing, dry, sufficiently tensile and compressive strength, and clean. Dust, oil, grease and release agents must be removed in advance by suitable measures (preferred method: shot blasting; alternatively diamond grinding with thorough vacuum extraction).
Application temperature: 15-30 °C (room and substrate temperature) with a maximum relative humidity of 70 %.
Apply EP Primer:
- For mixing, add the entire contents of EP Primer component B into the container of EP Primer component A and mix slowly and thoroughly with a drill for approx. 3 minutes at 300-400 rpm.
Working Time: approx. 40 minutes at 20 °C. - Immediately after mixing, pour the material onto the floor, spread it with a rubber squeegee and then roll over it to achieve an even surface while maintaining the floor texture.
- Protect the area from moisture, dust and mechanical stress during curing. Walkable after approx. 14 hours, fully loadable after approx. 7 days (temperature-dependent).
- Further coating with other products may be applied at 20 °C no earlier than 14 hours and no later than 36 hours after applying the EP Primer.
Important: If further coating is not applied within 36 hours, the EP Primer must be broadcast with quartz sand while still fresh/liquid (recommended quantity: approx. 300 g/m²). Before further coating, loose excess quartz sand must be removed with a broom.
If required: Level unevenness (surface roughness) greater than 1 mm with EP Levelling Compound:
- For mixing, add the entire contents of EP Levelling Compound component B and 10 kg of quartz sand into the container of EP Levelling Compound component A and mix slowly with a drill for approx. 3 minutes at 300-400 rpm.
Working Time: approx. 30 minutes at 20 °C. - Immediately after mixing, pour the mixture onto the floor, spread evenly with a floor squeegee and then deaerate with a spiked roller to achieve an even surface and a smooth finish.
- Protect the area from moisture, dust and mechanical stress during curing. Walkable after approx. 15 hours, fully loadable after approx. 7 days (temperature-dependent).
- Further coating with PU Design may be applied at 20 °C no earlier than 15 hours and no later than 36 hours after applying the EP Levelling Compound.
Important: If PU Design is not applied within 36 hours, the EP Levelling Compound must be broadcast with quartz sand while still fresh/liquid (recommended quantity: approx. 500 g/m²).
Before applying the PU Design coating, loose excess quartz sand must be removed with a broom.
Apply PU Design:
For mixing, add the entire contents of PU Design component B and 2 × 100 g of EP colour paste into the container of PU Design component A. Then add 400 g of additives and mix thoroughly.
- Immediately after mixing, pour the material onto the floor and spread it evenly using a surface squeegee. Then go over it with a rubber squeegee to create the design.
- Protect the area from moisture, dust and mechanical stress during curing.
Walkable after approx. 16 hours, fully loadable after approx. 4 days (temperature-dependent). - The PU Finish may be applied at 20 °C no earlier than 16 hours and no later than 36 hours after application of the PU Design.
Important: If PU Finish is not applied within 36 hours, the cured layer of PU Design must be sanded until it is completely matt (white haze) before the PU Finish can be applied.
Optional: Apply PU Finish for a matt finish:
- For mixing, add the entire contents of PU Finish component B into the container of PU Finish component A and mix thoroughly.
- Immediately after mixing, apply the mixture evenly to the floor with a roller to achieve a homogeneous surface while maintaining the floor texture. To achieve a streak-free result, roll first against the direction of the light and then wet-on-wet in the direction of the light source.
Pro tip: For an even, homogeneous finish, we recommend 2 coats. The waiting time between coats is at least 16 hours at 20 °C. - Protect the area from moisture, dust and mechanical stress during curing.
Walkable after approx. 16 hours, fully loadable after approx. 4 days (temperature-dependent).
Important Notes
Colour deviations are possible due to raw material variations. For different batches, base components should be pre-mixed. UV radiation and weather influences may cause slight colour changes. To avoid curing and mixing problems, components A and B must first be thoroughly mixed, then transferred into a second clean container and mixed again.
Warning
May cause an allergic skin reaction. Harmful if inhaled. May cause respiratory irritation. The information on the product label must always be followed.

reviews
Related Products